Introduction
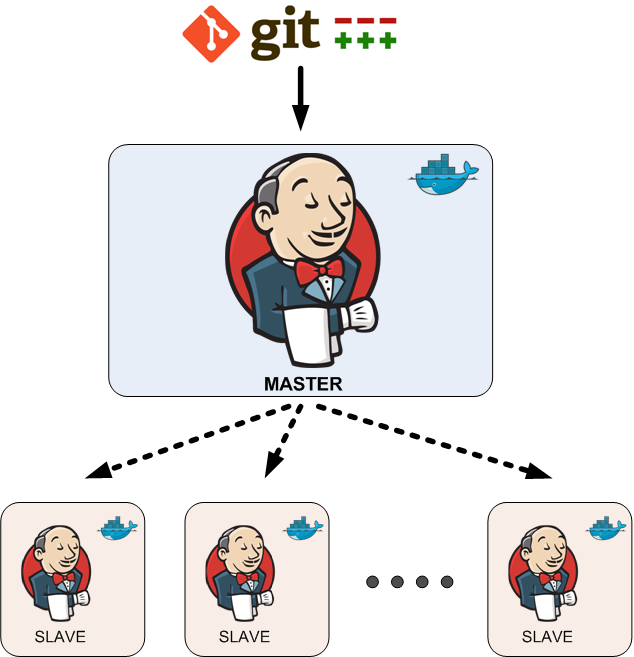
In a production environment, there are lot and lot of builds need to run in parallel. This is the time Jenkins slave nodes come into the play. We can run builds in separate Jenkins slave nodes. This will reduce build overhead to the Jenkins master and we can run build in parallel. This article contains in the step by step guide to add Jenkins slave node. This step by step guide will help you to add any flavour of Linux machine as a Jenkins slave node. If you haven’t still install Jenkins Master server read this article “Install Production Jenkins on CentOS 7 in 6 Steps”.
Prepare Slave nodes
Before adding a slave node to the Jenkins master we need to prepare the node. We need to install Java on the slave node. Jenkins will install a client program on the slave node. To run the client program we need to install the same Java version we used to install on Jenkins master. I am going to use this slave node to build Java Maven project. Therefore I need to install Maven as well. According to your production environment, you need to install and configure the necessary tool in the slave node.
Install OpenJDK 8 on the slave node,
# sudo yum install -y java-1.8.0-openjdkAs mention above, now I am going to install apache maven on the slave node. You can download the Apache Maven from their official site.
# mkdir -p build/software/maven/# wget https://www-eu.apache.org/dist/maven/maven-3/3.6.2/binaries/apache-maven-3.6.2-bin.tar.gz --directory /home/centos/build/software/maven/# tar -xvf /home/centos/build/software/maven/apache-maven-3.6.2-bin.tar.gz --directory /home/centos/build/software/
Configure ssh connectivity to slave node from master
Log in to the Jenkins master node and create an ssh key-pair. Use the below command to create the key-pair
# ssh-keygen
# cat .ssh/id_rsa.pub
Copy the content and log in to the slave node. Add the copied content to authorized_keys.
# vim .ssh/authorized_keysFrom the master ssh to the slave node. It will ask to accept the ssh fingerprint, type yes and enter. If you haven’t done anything wrong you should be able to ssh into the slave node.
Adding the slave node to the master
Log in to the Jenkins console via the browser and click on "Manage Jenkins" and scroll down to the bottom. From the list click on "Manage Nodes". In the new window click on "New Node".

Give a name to the node, select "Permanent Agent" and click on OK

In the remote root directory field enter a path in the slave node. Note that ssh user must have read/write access to this directory path. Here I use the ssh use's home directory.
Enter the slave nodes IP address in the field.

Click on the "Add" button near the credentials field. Jenkins will popup a new window to add credentials. Select the kind as "SSH Username with private key" from the drop-down. Enter the user name of the slave node. In the private key field add the Jenkins masters private key. You can find the private key with the below command,

# cat /home/centos/.ssh/id_rsaClick on add and select the credentials we created from the drop-down. Click on save. If you did all the correct slave node will come to live state within a few seconds.

Troubleshooting
You can click on the slave node and from there you can view the log. Fix any error shown in the log.

Conclusion
In the next article, I will teach you how to use Amazon ECS plug-in to build your project on AWS ECS. Until that stay tuned...
评论
发表评论