I have searched a lot for solid resources which would help me build a custom Universal Framework on iOS. I have tried implementing multiple techniques but they didn’t help me complete the task. Seeking and reading deeply a lot helped me understand more about it and eventually I build a Universal framework.
I want to share how I built this framework in an easy way,
Create Cocoa Touch Framework:
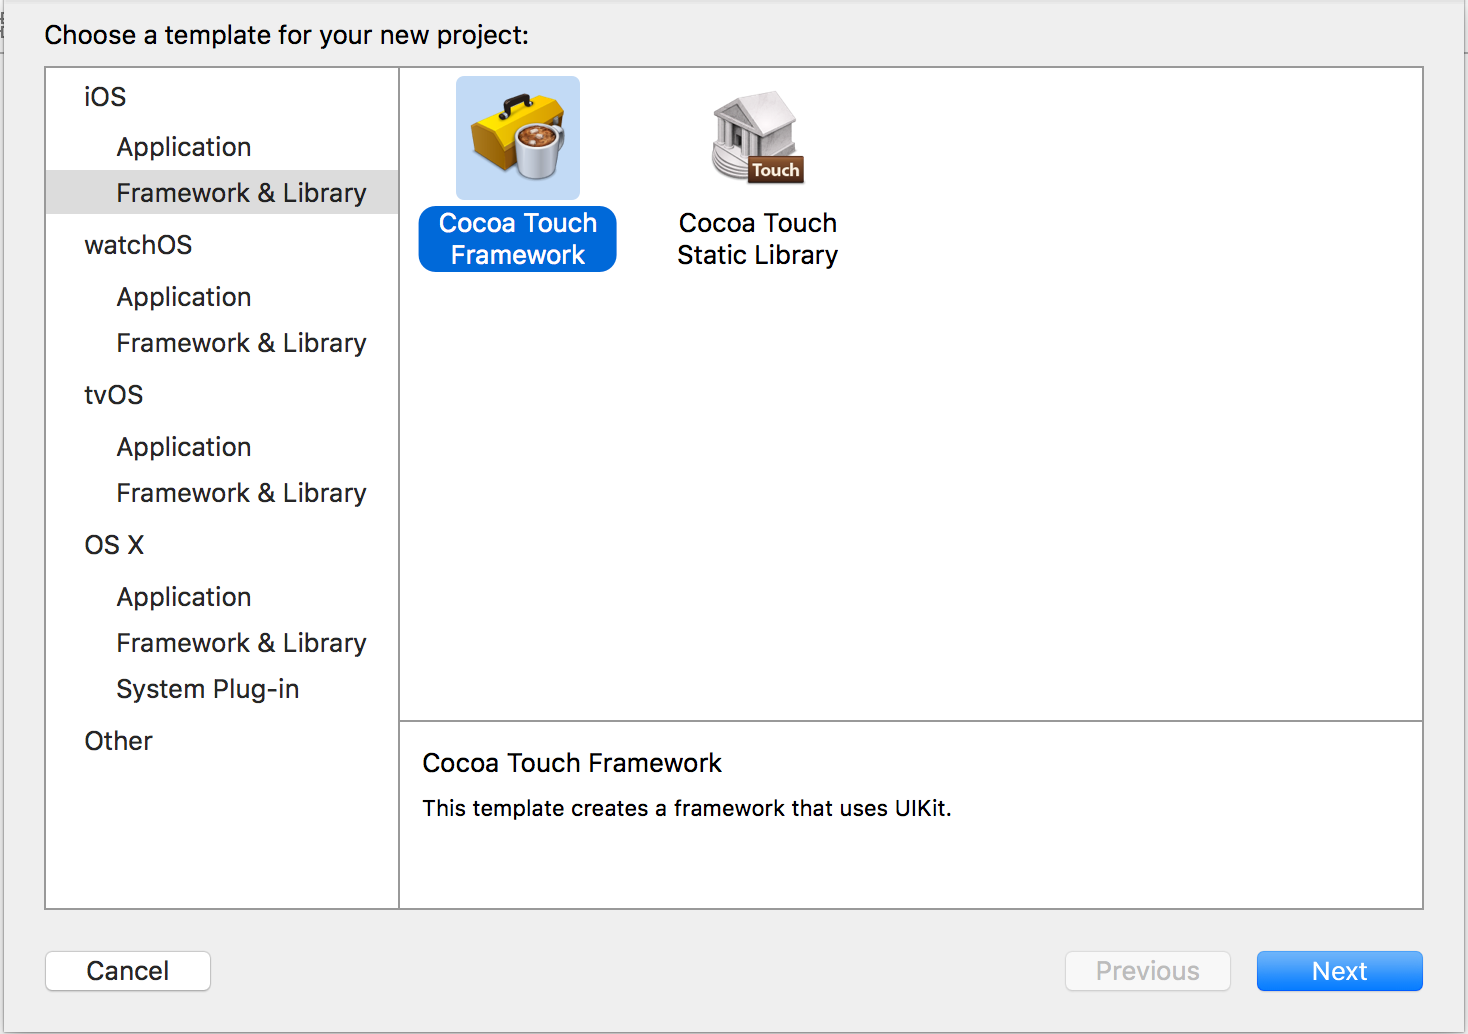
Open Xcode, File → New → Project. Under iOS, select Framework & Library and choose Cocoa Touch Framework click “Next”

Enter your framework name and click “Next”.

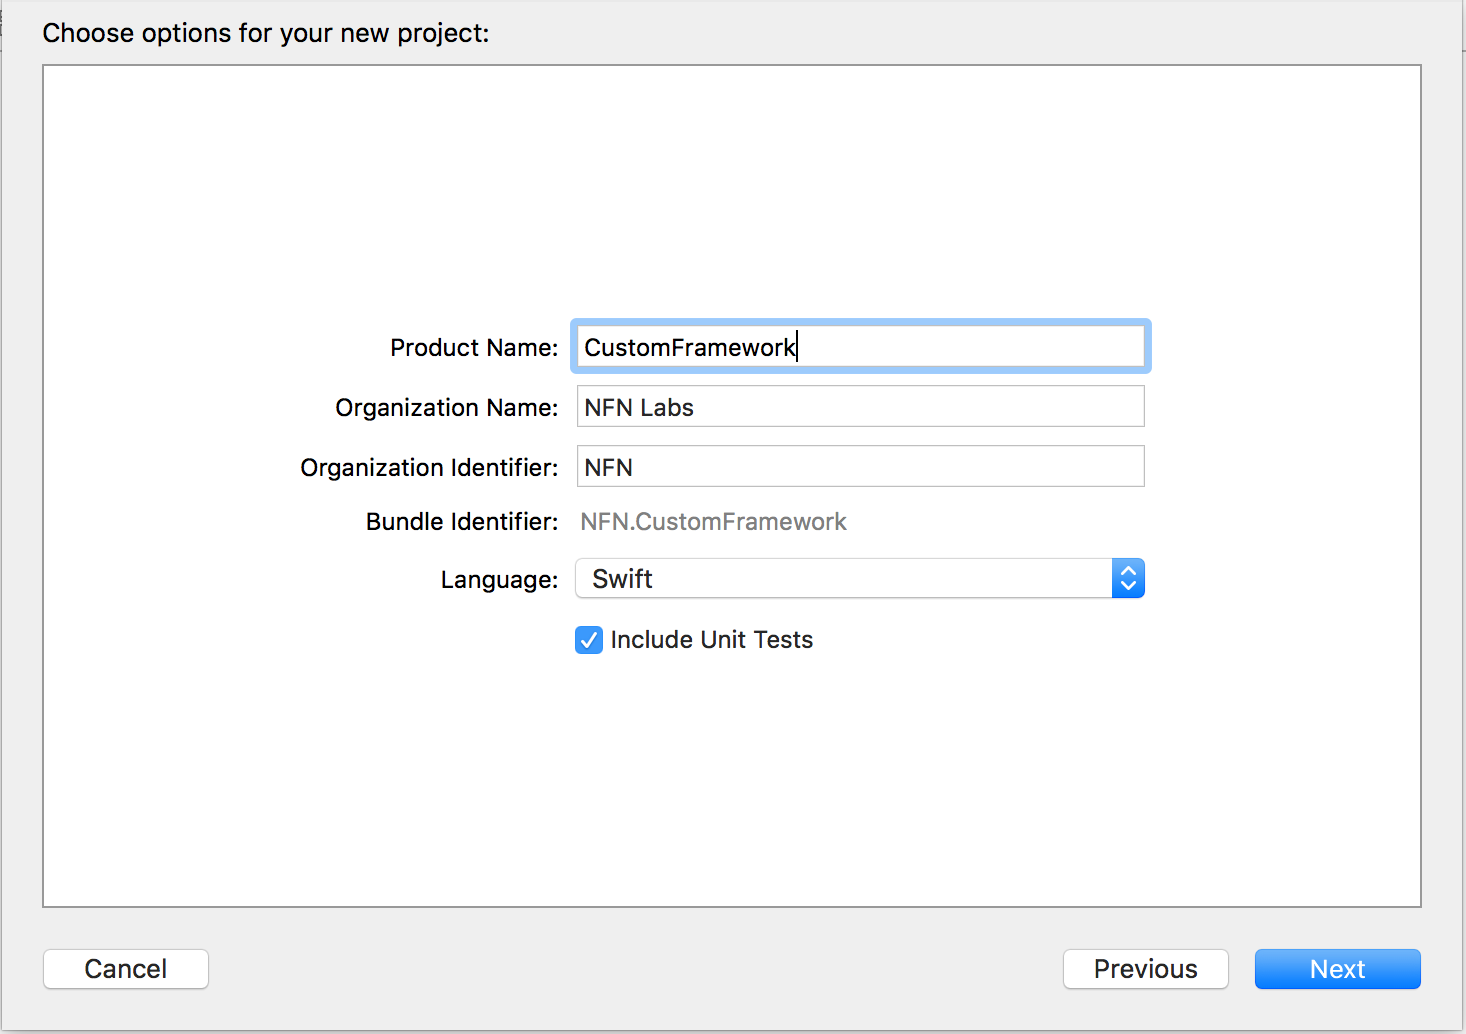
And choose your project location and create the project.
Select your Project, Choose Target → Project Name → Select Build Settings Tab. Always set “Enable Bitcode” to “Yes”, before building a Framework.
Build your required feature and functionality in the project. You can maintain multiple storyboards if required. The Framework project looks mostly like a normal SPA Project, the only difference is that you can only Compile/Build your Framework you can’t actually run them in the same project.
If the project is build only in “Simulator”, it would generate architectures which would let the framework to run specifically on simulators not on Devices. Or if the project is build in “Device”, it would generate architectures which would let the framework to run only on devices.
So build the project on both “Simulator” and “Device”.
The framework would be generated in the Product folder.


The Framework would be generated in the Products Directory of the Project, which has two seperate Folders of unique Framework which would run on Simulator and Device independently.
Device Framework: It contains architectures which will only build for Physical Devices.


Simulator Framework: It contains architecture which iswill build only for Simulators.


From a developer standpoint, developer would want to get a Universal framework, which runs on both simulator and Device.
Most of the Popular Framework are built as Universal Framework like Mixpanel, Fabric etc.,
I wrote a “Run Script” which generates the Universal Framework.
Select Project Target → Edit Schema → Archieve → Post-actions → Press “+” → New Run Script Action.
UNIVERSAL_OUTPUTFOLDER=${BUILD_DIR}/${CONFIGURATION}-universal# Make sure the output directory existsmkdir -p "${UNIVERSAL_OUTPUTFOLDER}"# Next, work out if we're in SIM or DEVICExcodebuild -target "${PROJECT_NAME}" -configuration ${CONFIGURATION} -sdk iphonesimulator ONLY_ACTIVE_ARCH=NO BUILD_DIR="${BUILD_DIR}" BUILD_ROOT="${BUILD_ROOT}" clean buildxcodebuild -target "${PROJECT_NAME}" ONLY_ACTIVE_ARCH=NO -configuration ${CONFIGURATION} -sdk iphoneos  BUILD_DIR="${BUILD_DIR}" BUILD_ROOT="${BUILD_ROOT}" clean build# Step 2. Copy the framework structure (from iphoneos build) to the universal foldercp -R "${BUILD_DIR}/${CONFIGURATION}-iphoneos/${PROJECT_NAME}.framework" "${UNIVERSAL_OUTPUTFOLDER}/"# Step 3. Copy Swift modules from iphonesimulator build (if it exists) to the copied framework directoryBUILD_PRODUCTS="${SYMROOT}/../../../../Products"cp -R "${BUILD_PRODUCTS}/Debug-iphonesimulator/${PROJECT_NAME}.framework/Modules/${PROJECT_NAME}.swiftmodule/." "${UNIVERSAL_OUTPUTFOLDER}/${PROJECT_NAME}.framework/Modules/${PROJECT_NAME}.swiftmodule"# Step 4. Create universal binary file using lipo and place the combined executable in the copied framework directorylipo -create -output "${UNIVERSAL_OUTPUTFOLDER}/${PROJECT_NAME}.framework/${PROJECT_NAME}" "${BUILD_PRODUCTS}/Debug-iphonesimulator/${PROJECT_NAME}.framework/${PROJECT_NAME}" "${BUILD_DIR}/${CONFIGURATION}-iphoneos/${PROJECT_NAME}.framework/${PROJECT_NAME}"# Step 5. Convenience step to copy the framework to the project's directorycp -R "${UNIVERSAL_OUTPUTFOLDER}/${PROJECT_NAME}.framework" "${PROJECT_DIR}"# Step 6. Convenience step to open the project's directory in Finder
open "${PROJECT_DIR}"
fi
This run script would be executed after the Archive is completed. And the Universal Framework would be generated and opened in project directory itself.
Executing/Running the Framework:
(i) Create a new project:
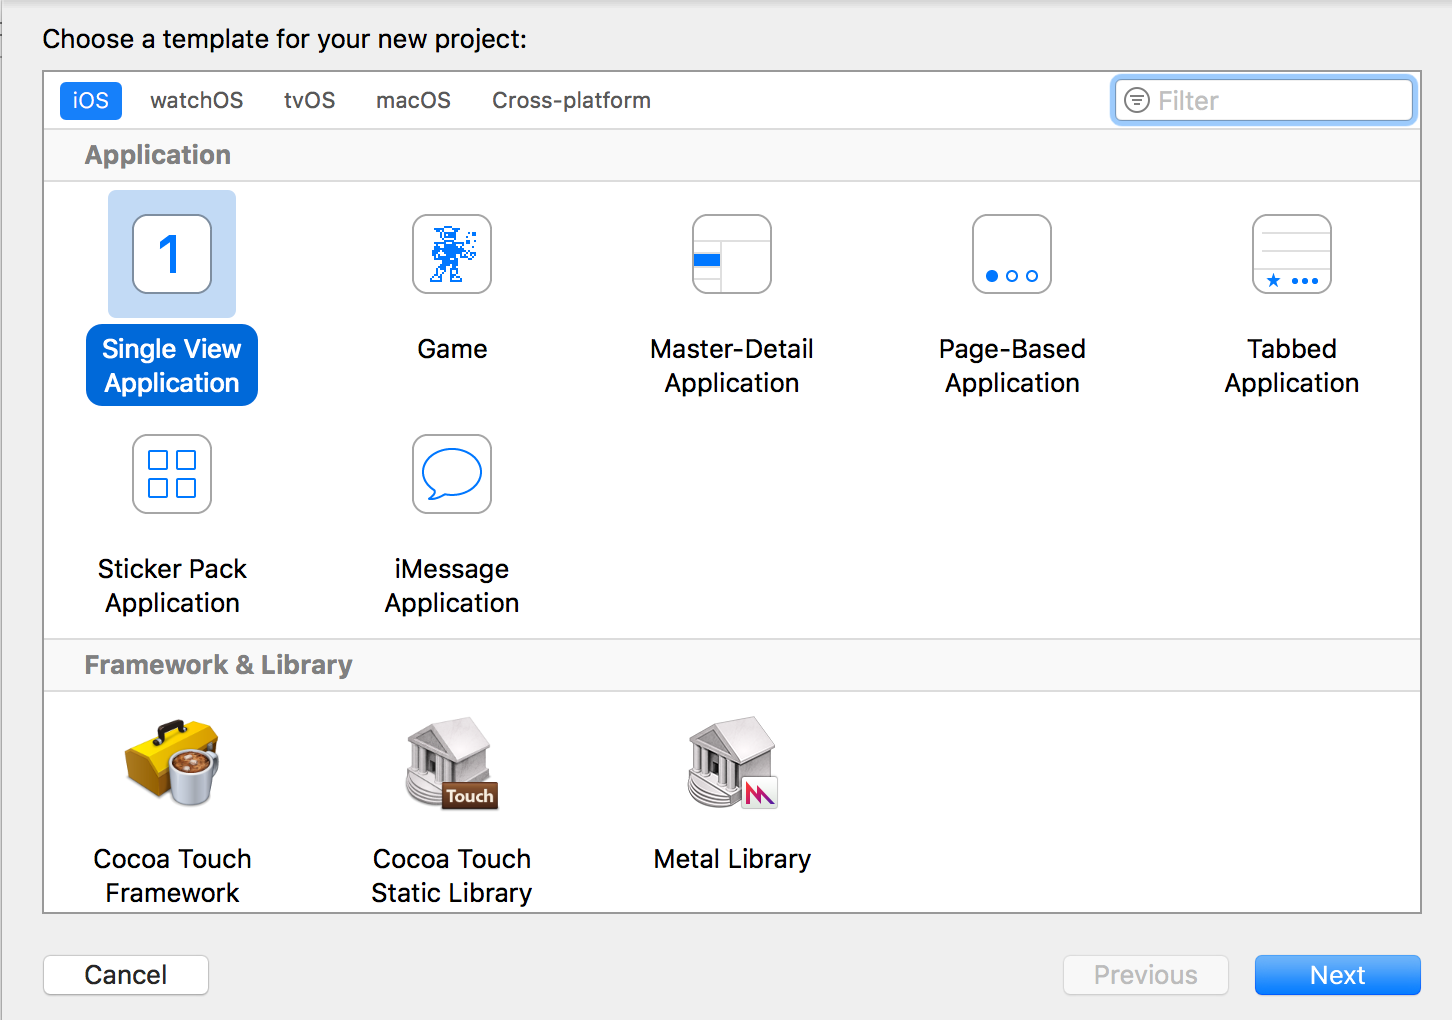
File → New → Project. Select iOS and choose “Single View Application” and click “Next”.

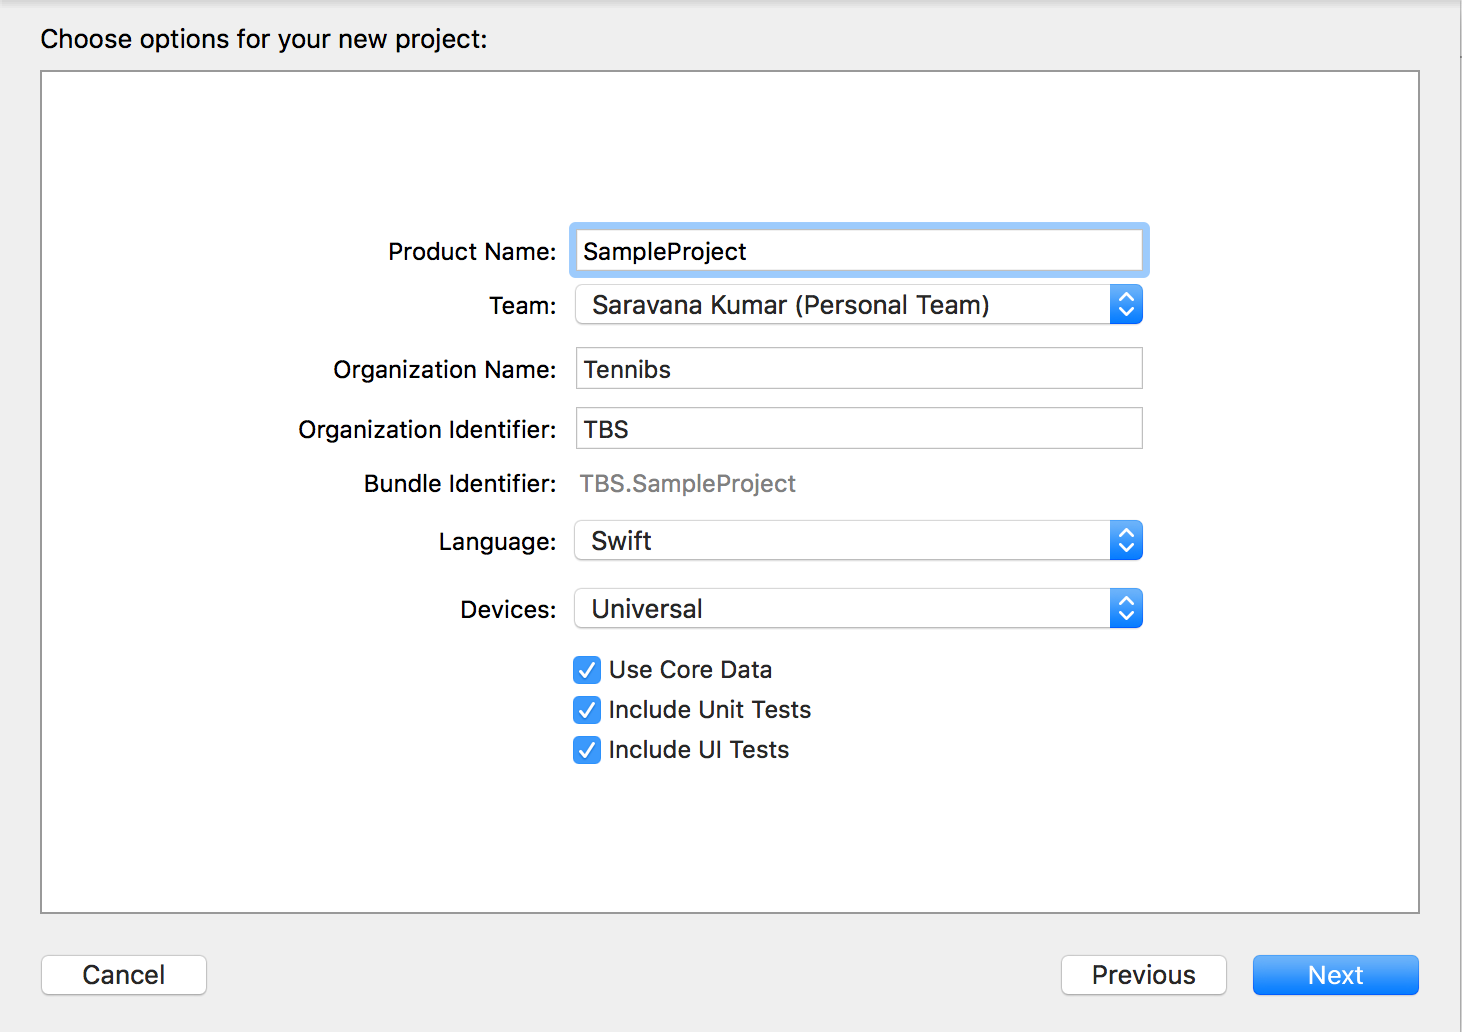
And set options like Product Name, Team, etc. and create the Project.

(ii) Set the Framework Dependencies:
Copy/Drag the Universal Framework to this project. While coping the framework in Project Explorer, check “Copy items if needed”.
Select the Project, Choose Target → Project Name → Select General → Scroll to “Embedded Binaries”. Press “+” and Add the framework.


If there are multiple Framework with same name in “Linked Frameworks and Libraries”, delete other ones, and just keep only one.
Nice. Now the universal framework will run on both simulators and Devices. But still there is a problem.
(iii) Remove Unused Architectures:
Let’s assume an application uses our custom universal framework on production, we we need to remove unused architectures. Because Apple doesn’t allow the application with unused architectures to the App Store.
Select the Project, Choose Target → Project Name → Select Build Phases → Press “+” → New Run Script Phase → Name the Script as “Remove Unused Architectures Script”.
Always this script should be placed below “Embed Frameworks”.
To achieve this, I wrote Custom Run Scripts,
FRAMEWORK="BetterHQ"FRAMEWORK_EXECUTABLE_PATH="${BUILT_PRODUCTS_DIR}/${FRAMEWORKS_FOLDER_PATH}/$FRAMEWORK.framework/$FRAMEWORK"EXTRACTED_ARCHS=()for ARCH in $ARCHSdolipo -extract "$ARCH" "$FRAMEWORK_EXECUTABLE_PATH" -o "$FRAMEWORK_EXECUTABLE_PATH-$ARCH"EXTRACTED_ARCHS+=("$FRAMEWORK_EXECUTABLE_PATH-$ARCH")donelipo -o "$FRAMEWORK_EXECUTABLE_PATH-merged" -create "${EXTRACTED_ARCHS[@]}"rm "${EXTRACTED_ARCHS[@]}"
rm "$FRAMEWORK_EXECUTABLE_PATH"
mv "$FRAMEWORK_EXECUTABLE_PATH-merged" "$FRAMEWORK_EXECUTABLE_PATH"
This run script removes the unused Simulator architectures only while pushing the Application to the App Store.
Now the Custom iOS Framework is complete and it remains Universal.
Hope this article is useful for people looking to create custom iOS framework, Please ❤️ to recommend this post to others 😊. Let me know your feedback. :)
评论
发表评论